Why a One-Car Garage Woodshop is Perfect for Beginners
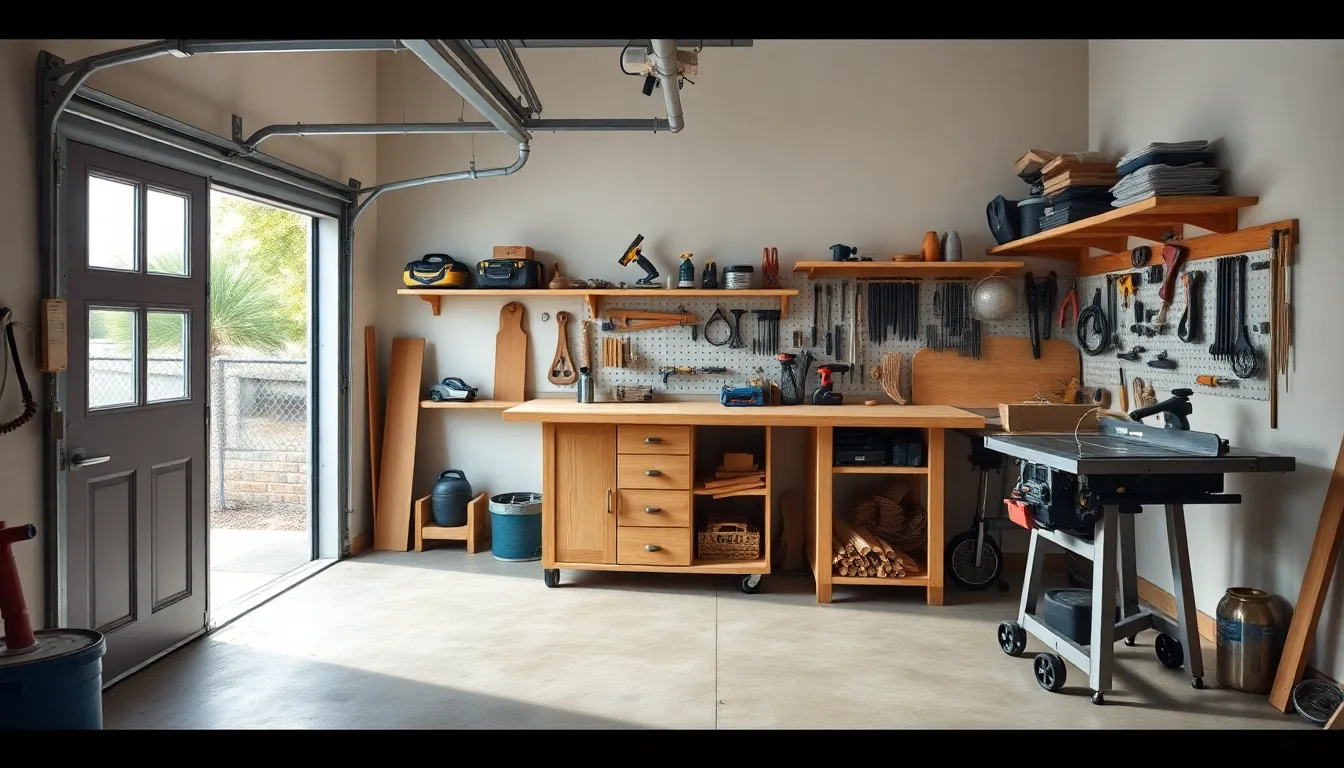
Dreaming of turning your woodworking hobby into reality but short on space? A standard one-car garage—typically 12 feet wide by 20 feet deep, or about 240 square feet—offers just enough room for a functional woodshop without needing a dedicated barn.
Many beginners feel overwhelmed by massive shop setups online. The good news? You can create an efficient, inspiring space right in your garage. This walkthrough makes it achievable, step by step.
We'll focus on compact tools, smart layouts, and hacks that fit your life. No fancy renovations required. Think of it like organizing a small kitchen: everything has a place, and you can still cook a great meal.
By the end, you'll have a plan to build your shop phased over weeks or months, staying under budget.
Assessing and Planning Your Garage Space
Start by measuring your garage precisely. Standard sizes vary: 12x20 feet, 12x22 feet, or 10x20 feet. Subtract space for your car door (usually 8-10 feet high and wide) and any fixed obstacles like water heaters.
Jargon alert: "Zones" divide your shop into dedicated areas for different tasks, like stations in a gym.
Key Zones for Efficiency
Create four main zones to avoid clutter and workflow bottlenecks:
- Power Tools Zone: 6x8 feet near a wall for stationary tools.
- Assembly Zone: Central 8x8 feet for building projects.
- Finishing Zone: 4x6 feet corner for sanding and staining (ventilated).
- Storage Zone: Overhead and walls for materials.
Leave a 3-foot walkway around zones for safe movement.
Sample Layout Checklist
Before sketching your plan:
- Measure door clearance: At least 3 feet from door to nearest tool.
- Check headroom: Minimum 7 feet under racks.
- Note outlets: Plan for 6-8 on walls.
- Floor space: Ensure 40% remains open for parking.
| Zone | Dimensions | Location Tip |
|---|---|---|
| Power Tools | 6x8 ft | Back wall, near dust collection |
| Assembly | 8x8 ft | Center, with mobile workbench |
| Finishing | 4x6 ft | Corner with window or fan |
| Storage | Full walls + ceiling | Above zones, not blocking access |
This layout reclaims 100+ square feet for parking when needed.
Essential Tools That Fit Tight Spaces
Beginners don't need a 20-tool arsenal. Focus on versatile, compact essentials. Prioritize tools with mobile bases—rolling platforms that let you move them easily.
Must-Have Power Tools
- Compact Table Saw: Jobsite models like DeWalt DWE7491RS (24x32-inch footprint). Fits on a 4-foot stand.
- Miter Saw Station: Wall-mounted fold-down (e.g., 4x2 feet when open). Saves floor space.
- Random Orbital Sander: Bosch ROS20VSC—handheld, no station needed.
- Drill Press: Benchtop WEN 4208T (under 2 feet square).
- Router: Palm-style for edges and joinery.
Budget: $800-1,500 total.
Hand Tools Starter Kit
- Chisels, clamps (bar and pipe), mallet, squares, marking gauge.
- Store in roll-up bags for quick access.
Real-world tip from small-shop user Mike in Texas: "My 12x18 garage thrives with one rolling tool cart. Swap saws in seconds—no fixed benches."
Workbench Designs for Small Garages
A good workbench is your shop's heart. Aim for 4x6 to 6x8 feet, sturdy enough for heavy work but movable.
Wall-Mounted or Folding Options
- French Cleat Workbench: Jargon: French cleats are beveled wood strips (45-degree angle) that lock panels securely to walls. Hang a 4x8-foot bench; drop it when parking the car.
- Folding Bench: Hinged to wall, supports 300+ pounds. DIY with 2x4s and plywood.
- Mobile Base Bench: 4x6 feet on casters. Roll to any zone.
Build checklist:
- Height: 34-36 inches (elbow level).
- Top: 1.5-inch thick hardwood or plywood.
- Vise: One 8-inch front vise.
- Cost: $100-300 DIY.
Analogy: Like a Murphy bed for tools—up when not in use.
Clever Storage Solutions to Maximize Vertical Space
In a garage, walls and ceiling are gold. Forget floor piles.
Pegboard and French Cleats
- Pegboard Panels: 4x8 sheets on walls. Hooks hold saws, clamps. Add 1x2 furring strips for 3-inch depth.
- French Cleat System: Mount cleats every 16 inches vertically. Hang shelves, cabinets, tool boards. Holds 100+ pounds per cleat.
Overhead and Under-Bench Storage
- Ceiling Racks: PVC pipes or 2x4 racks for lumber (stack 8-foot boards flat).
- Rolling Carts: For clamps and small parts.
User tip from Reddit's r/woodworking: "French cleats changed my 10x20 garage. Everything off the floor, car parks easy."
Storage checklist:
- Label bins: Plywood scraps, screws by size.
- Vertical clamps: Slot in racks.
- Dust-tight cabinets: For finishes.
Dust Collection Hacks for Confined Spaces
Dust is the enemy—it's flammable and ruins lungs. No room for huge collectors? Use smart hacks.
Budget Systems
- Shop Vac Setup: Festool or Ridgid with cyclone separator ($150). Connects to all tools.
- Oneida Dust Deputy: Add-on for any vac, captures 99% dust.
- DIY Hose Reels: Wall-mounted for 4-inch hoses.
Ventilate: Garage door open or box fan to outside.
Pitfall: Skipping collection leads to "sawdust snow" cleanup. Start simple, upgrade later.
Pro tip: Seal joints with duct tape; use blast gates (valves) on hoses.
Lighting and Power Upgrades
Poor light causes mistakes; weak power stalls projects.
Lighting Essentials
- LED Shop Lights: 4-foot strips (5000 lumens each). Mount 8-10 feet high.
- Task Lights: Clamp-ons over bench (1000 lumens).
- Goal: 100 foot-candles (like a bright office).
Power Setup
- Dedicated Circuits: 20-amp breakers for saws.
- Outlet Strategy: 12 outlets on walls, surge protectors.
- Extension Cords: Heavy-duty, 12-gauge only.
Cost: $200-500. Hire electrician if unsure.
Checklist:
- Test GFCI outlets (ground fault protection).
- LED bulbs: 5000K daylight color.
- Motion sensors: Auto-on for safety.
Safety Must-Haves in a Small Shop
Safety first—especially in a family garage.
Gear and Habits
- PPE: Dust mask (N95+), safety glasses, hearing protection, gloves.
- Fire Extinguisher: ABC-rated near door.
- First Aid Kit: Bandages, eye wash.
Shop Rules
- No loose clothing near blades.
- Push sticks for table saws.
- Riving knife (saw splitter) always installed.
Pitfall: Cluttered walkways cause trips. Keep 3-foot paths clear.
Encouraging note: With basics, accidents drop 90%. Woodworking is safer than driving.
Phased Build Plan with Budget Estimates
Don't overwhelm—build in phases. Total budget: $2,000-5,000.
Phase 1: Clear and Plan (Week 1, $0-100)
- Declutter garage.
- Sketch zones on paper.
- Buy safety gear.
Checklist:
- Sweep floor.
- Inventory tools.
- Buy PPE.
Phase 2: Workbench and Storage (Weeks 2-3, $300-600)
- Build bench and cleats.
- Install pegboard.
Phase 3: Tools and Power (Weeks 4-6, $1,000-2,500)
- Buy core tools.
- Add outlets/lights.
Phase 4: Dust and Finishing (Weeks 7-8, $300-800)
- Install collection.
- Set up zones.
| Phase | Cost Range | Time |
|---|---|---|
| 1: Clear | $0-100 | 1 week |
| 2: Bench/Storage | $300-600 | 2 weeks |
| 3: Tools/Power | $1,000-2,500 | 3 weeks |
| 4: Dust/Finishing | $300-800 | 2 weeks |
Track spending in a notebook.
Real-World Tips from Small-Shop Users
From forums like Lumberjocks:
- Sarah in California: "Miter saw on a pivot arm—folds flat against wall."
- Tom in Ohio: "Overhead bike hooks for plywood; stacks 20 sheets."
- Common pitfall: Underestimating dust. One user lost a car to buildup—vacuum weekly.
Relatable: Treat your shop like a puzzle—every piece fits.
Reclaiming the Garage for Parking
Versatility is key.
- Fold benches, roll tools to walls.
- Hang lumber overhead (under 7 feet high).
- Quick-clean: Shop vac in 10 minutes.
Tip: Magnetic tool holders on fridge-style door panels.
Now your shop shrinks to 50 square feet when parked.
Next Steps to Get Started
You've got the blueprint—now act!
- Measure your garage today.
- Make a shopping list from checklists.
- Build Phase 1 this weekend.
Join communities: r/BeginnerWoodWorking, local makerspaces.
Woodworking in a garage isn't a compromise—it's smart. Your first project awaits. Sawdust is calling!