Why Setting Up a Woodshop on a Budget Matters for Beginners
Dreaming of turning scrap wood into a birdhouse or a custom shelf? Woodworking is an incredibly rewarding hobby that lets you create with your hands. But for beginners, the idea of setting up a woodshop can feel intimidating—especially when budgets are tight.
The good news? You don't need a massive garage or thousands of dollars to get started. This guide on how to set up a woodshop on a budget shows you exactly how. We'll focus on practical steps that keep things simple and affordable.
Think of your first woodshop like a cozy kitchen setup. You start with basics like a cutting board and knife before fancy gadgets. Here, we'll prioritize what you truly need, help you save with used buys, and make your space efficient.
By the end, you'll feel confident diving in without overwhelm or overspending. Let's build your woodworking dreams, one smart step at a time.
Assessing Your Space: Garage, Basement, or Shed Setups
Before buying anything, evaluate your space. A woodshop doesn't require a dedicated room—a corner of your garage, basement, or even a shed works fine.
Minimum Space Requirements
Most beginners thrive in 100-200 square feet. That's about the size of a small bedroom.
- Garage corner: 10x10 feet is plenty. Park your car elsewhere temporarily.
- Basement area: Use 8x12 feet under stairs for low ceilings.
- Shed: A 10x12 prefab shed shines here, but ensure good ventilation.
Relatable example: Imagine your laundry room setup. You squeeze in a folding table—same principle for tools.
Clear clutter first. Sweep floors and organize junk. Good lighting is key—add cheap LED shop lights ($20 each) for safety.
Ventilation matters too. Wood dust is like fine flour; it builds up fast. Open windows or grab a $30 box fan.
Power outlets? Extension cords from hardware stores ($15) bridge gaps. Grounded ones prevent shocks—safety basics we'll cover later.
Pro tip: Measure twice. Sketch your layout on paper. Place workbench centrally, tools around it like a kitchen island.
With smart planning, even tiny spaces become workshops. You're not building a palace—just a functional spot to create.
Building Your First Workbench on a Budget
A sturdy workbench is your woodshop's heart. Skip fancy $500 models; DIY one for under $100.
Materials You'll Need
Use 2x4 lumber (like sturdy bookshelf beams) and plywood. Total cost: $50-80 at big-box stores.
Here's a simple 4x6 foot bench plan:
- Legs: Four 2x4s, 36 inches tall.
- Top: One 3/4-inch plywood sheet, 4x6 feet.
- Apron: 2x4s around edges for strength.
- Fasteners: 3-inch deck screws ($10/box).
Step-by-Step Build
- Cut legs to height. Use a handsaw if tool-less.
- Assemble frame: Screw aprons to legs.
- Attach plywood top. Pre-drill holes to avoid splits.
- Add vise? Bolt a cheap pipe clamp later.
Time: 2-4 hours. Tools needed: Saw, drill, screws—borrow if possible.
Analogy: It's like IKEA furniture, but tougher. Sand edges smooth for comfort.
Upgrade later with a shelf underneath for storage. This bench handles sawing, sanding, and assembly easily.
Test it: Bounce on it. No wobble? You're set. Now, your woodshop has a command center.
Essential Tools: Buy First vs. What Can Wait
Tools overwhelm beginners. Focus on "must-haves" that cover 80% of projects. Delay "nice-to-haves" until you earn from sales.
Priority 1: Buy These First (Under $200 Total)
These are your kitchen knives—versatile daily drivers.
- Clamps: Four 12-inch bar clamps ($20/set). Hold wood like invisible hands.
- Cordless drill/driver: $50-80. Drills holes, drives screws. Get one with bits.
- Circular saw: $40-60. Cuts boards straight. Pair with a $10 guide rail (scrap wood).
- Tape measure and speed square: $10 combo. Measure accurately; square ensures 90-degree angles.
- Chisel set: 4-piece, $15. Cleans joints like a sculptor.
With these, build boxes, shelves, or frames.
Priority 2: Add Next (After 5-10 Projects)
- Jigsaw: $30 for curves.
- Random orbital sander: $40 smooths fast.
- Miter saw: $100 for angles (rent first).
What Can Wait Indefinitely
Routers, table saws, planers—powerhouses, but dangerous and pricey for newbies. Hand tools suffice early.
Example: My first shelf? Drill, saw, clamps only. Saved $300.
Shop sales at Harbor Freight or Amazon. Quality beats brand names for budgets.
New vs. Used: Maximizing Savings
New tools tempt, but used gems shine brighter on budgets.
Pros of Used Tools
- Savings: 50-80% off. Facebook Marketplace, Craigslist, garage sales.
- Durability: Old Stanley planes outlast plastic newbies.
- Test drive: Inspect before buying.
Where to Find Deals
- Online: Facebook Marketplace, OfferUp. Search "woodworking tools."
- Pawn shops: Negotiate 20% lower.
- Estate sales: Goldmines for vintage finds.
- Tool swaps: Local woodworking Facebook groups.
Inspection Checklist
Before buying used:
- Power tools: Plug in, run 30 seconds. Listen for odd noises.
- Blades/bits: Sharp? No chips.
- Cords: No frays.
- Haggle: "It needs cleaning—$10 off?"
New perks: Warranties, shiny. Buy new for batteries (drills) or consumables (blades).
Hybrid approach: Used hand tools, new power. I scored a $5 clamp set—still clamping strong.
Patience pays. Wait for deals; your wallet thanks you.
Safety First: Basic Setup on a Budget
Safety isn't optional—it's your shield. Dust and blades bite without prep.
Essential Safety Gear ($50 Total)
- Safety glasses: $10. Eye shields.
- Dust mask/respirator: $15 N95 or half-face.
- Hearing protection: $10 earmuffs.
- Work gloves: $10 leather palms.
- First aid kit: $15 stocked.
Workshop Safety Habits
- Dust control: Shop vac ($30) or homemade cyclone from buckets.
- Fire extinguisher: ABC-rated, $20 near bench.
- No loose clothes: Tie hair, roll sleeves.
- Lighting: 100+ foot-candles (bright as a sunny day).
- Kid/pet zone: Lock doors or fence off.
Rule: One project at a time. Clutter causes trips.
Analogy: Like biking—helmet first, speed later.
Train habits: "Glasses on before saw starts." Safety lets you create worry-free.
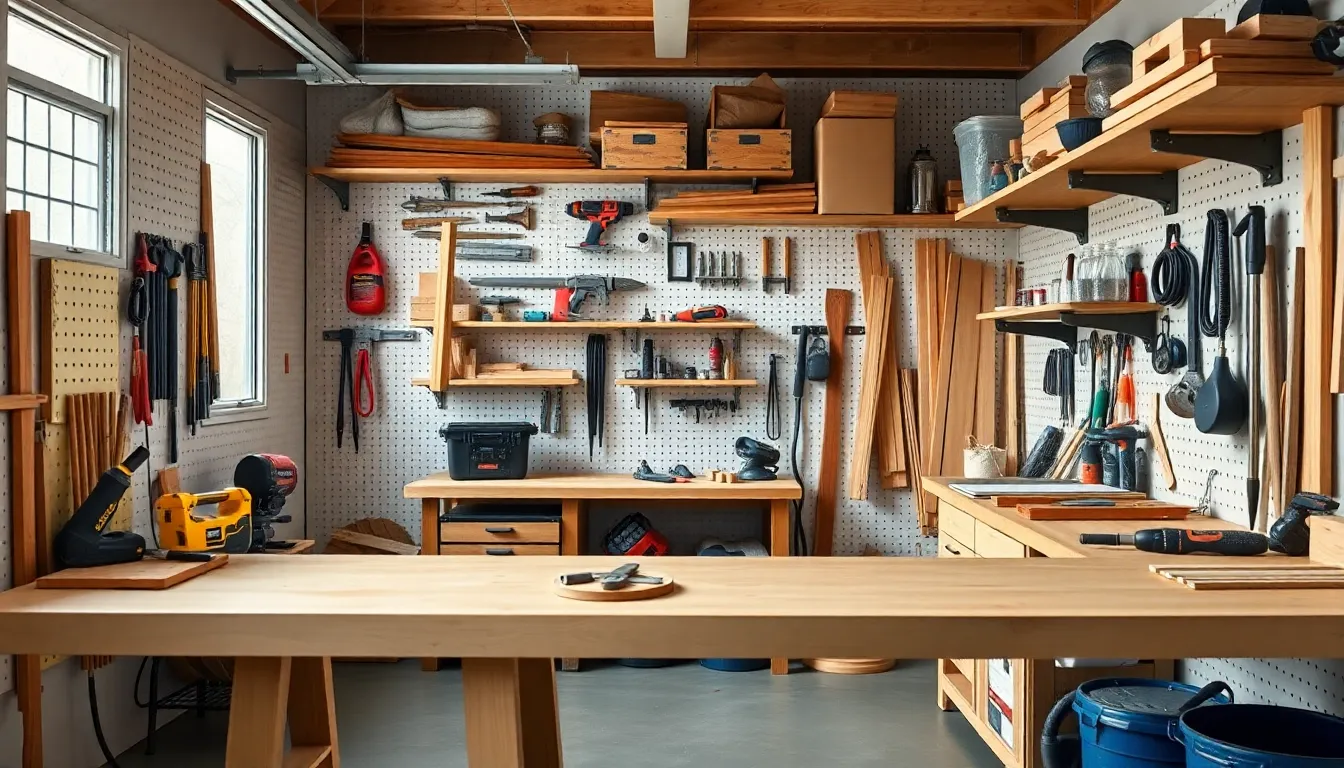
Smart Storage Solutions: Pegboard, Shelves, and More
Organized shops save time and sanity. No more "Where's that drill?"
Pegboard Magic
$20, 4x8 sheet. Hooks ($10/pack) hold saws, clamps.
- Mount on wall above bench.
- Outline tools with marker for "homes."
- Example: Drill hangs by handle—grab and go.
DIY Shelves
2x4 brackets, plywood. $30 for three shelves.
- Store wood flat to prevent warping.
- Bins for screws ($5 each from dollar store).
Other Hacks
- PVC pipes: $1/foot for bit storage.
- Magnetic strips: $10 for metal tools.
- Shadow boards: Foam cutouts on plywood.
Relatable: Like a toolbox drawer—everything visible.
Label everything. Weekly tidy-up keeps it shipshape.
Your shop evolves from chaos to pro setup.
Your Prioritized Shopping List
Here's your roadmap. Budgets: Starter ($200), Solid ($500), Expanded ($1000).
| Category | Starter (<$200) | Solid (<$500) | Expanded (<$1000) |
|---|---|---|---|
| Workbench | DIY 2x4/plywood ($80) | Add shelf/vise ($120) | Heavy-duty top ($250) |
| Tools | Clamps, drill, circ saw, measure ($150) | +Jigsaw, sander ($100) | +Miter saw ($150) |
| Safety | Glasses, mask, gloves, kit ($50) | +Vac, extinguisher ($60) | +Full respirator ($100) |
| Storage | Pegboard + hooks ($30) | +Shelves, bins ($50) | +French cleats ($80) |
| Space | Lights, fan, cords ($40) | Ventilation fan ($80) | Dust collector ($150) |
| Total | ~$350 | ~$610 | ~$1130 |
Print this. Check off wins. Adjust for deals.
Next Steps: Launch Your Woodshop Today
You've got the blueprint—now act!
- Measure your space this weekend.
- Build that workbench next.
- Hunt used tools online.
- Stock safety gear first.
- Start small: A cutting board project.
Join free communities: Reddit's r/woodworking, YouTube channels like "Frank Howarth."
Woodworking builds skills and confidence. Mistakes? Sand them away. Your first piece will spark joy.
You're capable. Budget or not, your woodshop awaits. Grab a saw—let's make sawdust!
(Word count: 1987)